
Since the onset of smartphones with cameras and playful photo-sharing apps like Instagram and Facebook, especially ones with high-definition resolution, more and more people choose to take photos of their food before eating rather than clasp their hands together and say words of prayers. I bet that most of us still thank the lord for the food we eat, but what’s more rampant now is this trend of food snapshots to proliferate in social media after it’s served.
I myself is guilty of this! 😀 I don’t care about the weird looks of the wait staff and other dining customers on me whenever I use my iPhone cam to shoot something nice inside the restaurant. I write food reviews as a hobby and intend to help my friends and readers choose where they can pig out next for best food selections.
In this post, I will talk about tips on how to take good pictures of food using your iPhone camera:
1. Don’t zoom in.
Apparently, zooming in will cause the picture to blur. So just get closer to the plate or the food to have a clearer version of the shot. You can take as many tries as you want and stop only when you achieved what you think is acceptable. You can be creative and take it from below or take it on the sides or other unusual angles!
As a kind etiquette, don’t forget to say sorry to your date or whoever is with you at the dining table, when you stop them first from taking a bite until you’ve photographed your plate for posterity. 😛 You never know, he/she may be converted to a narcissistic food iPhone photographer as well! An exaggerated ending would be that both of you are still taking photos of the food without noticing that it’s already gotten cold.
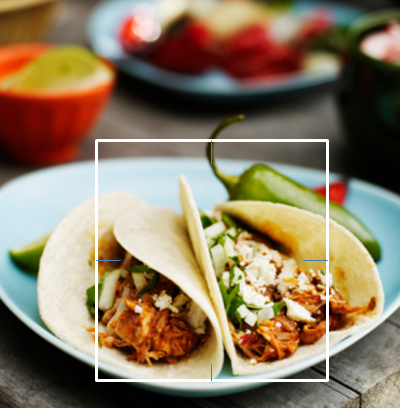
2. Tap to focus.
Notice the square thing that appears when you tap the screen when your phone is on camera mode? When you take a shot, you will normally see this to achieve a macro focus that gives the illusion of depth of field. The background becomes blurry, while the quality of clarity of the object on focus becomes more defined.
3. Move into the light.
Obviously you won’t catch a great photo when you’re in a dark place. If you’re using iPhone 4, 4s or the iPhone 5, you can use the built-in flash. However, the quality is better when you’re under either artificial or natural lighting without the flash. Just find a light source and move your plate there to take the photo.
** Enhancement **
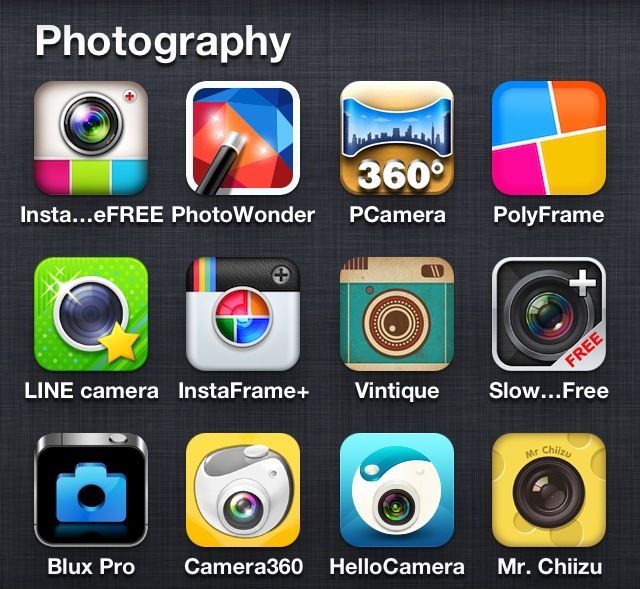
Personally, I use the following applications to enhance the photos I take. They are as follows, with links to iTunes (if you want to try downloading them as well). Notice that some of them are paid apps now, but I got them when they new in iTunes and they can be installed for free. So lucky me! 😀
1. InstaCollage Pro – Pic Frame & Pic Caption for Instagram FREE – Free
2. Photo Wonder – Free
3. Panorama 360° Camera – $1.99
4. Poly Frame – $0.99
5. Line Camera – Free
6. InstaFrame+ – $0.99
7. Vintique – $0.99
8. Slow Camera Shutter Plus PRO FREE – Free
9. Blux Camera Pro – $0.99
10. Camera 360 Ultimate – Free
11. Camera360 Concept – HelloCamera – $0.99
12. Mr. Chiizu ~ Photo Decoration With Artists – Free
Wrap Up
DSLR and SLR cameras are still the way to go when you want to capture really fine-looking photos you can keep and be proud about for life. But if you’re not keen in bringing heavy equipment around, you can use your iPhone camera (or any smartphone camera) and take good photographs anyway. With practice and application of the the many appropriate enhancement filters and editing options available in the smartphone apps, surely you can make your pictures be really presentable.
Do you have other suggestions to improve taking of food pictures? I’d love to hear your thoughts. 😆
Leave a Reply