
May 16, 2015—It was a lovely day for some self-imposed suffering. We tackled about 14 kilometers hiking and touring into one of the country’s most beautiful travel destinations: the Mount Pinatubo. This volcano is known as an active stratovolcano in the Cabusilan Mountains on the island of Luzon, near the tripoint of the Philippine provinces of Zambales, Tarlac, and Pampanga. It erupted on June 15, 1991 and produced the second largest terrestrial eruption of the 20th century. Whoa!
With barely three hours of sleep, I heaved a sigh at the thought of the completing the adventure. What have we signed ourselves up for? Why do we put ourselves in situations that call for discomfort? Prior arrival to the site, these were the questions that circled in my mind. I could already imagine blistered feet, aching calf muscles, and the scorching heat of the sun prickling on my skin and dwindling my precious energy. Ultimately, my answer had everything to do with personal growth and the thrill of exploring out of my comfort zone.
Before our Mount Pinatubo day tour, I’ve read countless of blogs and reviews about it. Everyone seemed to have shared his/her unique set of stories, travel guides, and tips every time. Here’s mine. 🙂
Top 5 Things to Know When Planning Your Mount Pinatubo Day Tour
1. If you’re not sure how to organize a DIY Mt. Pinatubo day tour, get a tour package with an accredited Pinatubo organizer.
In our case, we signed up with Majestic Mount Pinatubo Tour and Homestay (owned by Sonia Bognot) and availed of Package A (Saturday) that costs PhP 2050/person. (We were 15 in the group.) The package was inclusive of everything we would need in the Mt. Pinatubo day tour:
- round trip shared van transfer service: from our meeting place to Sta. Juliana Capas, Tarlac and back
- food: breakfast, lunch, and water
- rental of 4×4 off-road vehicle which took us to the start of the hiking jump-off point and back
- tour guide who accompanied us from the start to the end of our tour
- mandatory aeta fee – PhP 150 per person
- all tourism fees including registration fee, entrance fee, conservation fee, and permit to trek
Only the first 400 guests with tour reservation with any accredited Pinatubo organizer are allowed to trek per day. This is taken seriously especially during peak season (third week of October to June). Those who have no reservation and did not book for a tour arrangement with accredited organizers can still come BUT will be put on a wait list. Chance passengers can continue their journey only if there will be any 4×4 jeep left for them to use.
2. Take note of the time and follow the itinerary as planned.
According to the locals, there used to be a “short trek” (via the Skyway) where the 4×4 jeep reaches a certain area that’s near the base of the Pinatubo so hikers would just have to walk 1km to continue the hike and get to the crater.
However, ever since the trails were ruined by Typhoon Ondoy, they are no longer passable by the jeep. Hence, everyone would have no other choice but go through the “long trek” whose distance is seven kilometers one-way to the crater (equivalent to about 2-2.5 hours) and another seven kilometers down (another 2-2.5 hours) by foot.
The reason why it’s important to stick with the itinerary (see below) is that we won’t know when it will rain. Trekking in Mt. Pinatubo is said to be dangerous when it rains.
For Your Reference: Our Mt. Pinatubo Day Tour Itinerary
- 2:00AM Meetup with Majestic Mount Pinatubo Tour and Homestay’s Van Driver
We met with the driver at Eton Centris in Quezon Avenue. Traveling to the meeting place in Tarlac took over two hours.
- 5:30AM – 6:00AM Registration and Orientation
All Mount Pinatubo trekkers are required to register at the registration site located at the Local Tourism Office in Santa Juliana, Capas, Tarlac. We filled out waiver forms, had breakfast provided by the organizer, attended the group orientation, and formed into groups.
These should be done before the cut-off time, which is unpredictable when Military Exercises are present in the area. During such an event, the cut-off time for registration is STRICTLY at 6:00AM-6:30 AM or even earlier. If you arrived late, you will have to wait for the next day to trek. It is therefore risky to take chances and become a latecomer, as your effort and excitement to see Mt. Pinatubo will all go to waste.
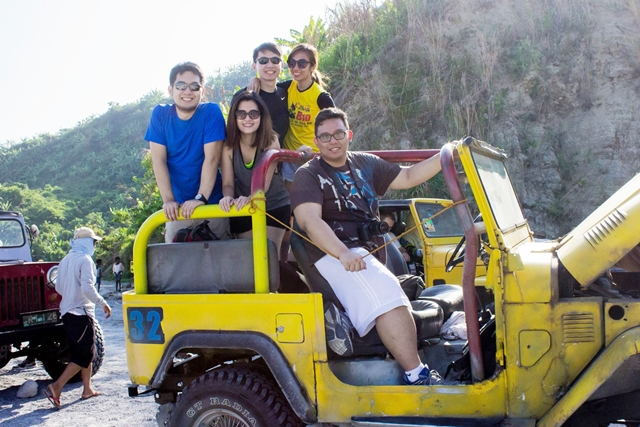
- 6:00AM – 7:00AM Departure to Drop Point
After registration and securing the necessary trek permits, we rode a 4×4-wheeler jeep which can seat five people.
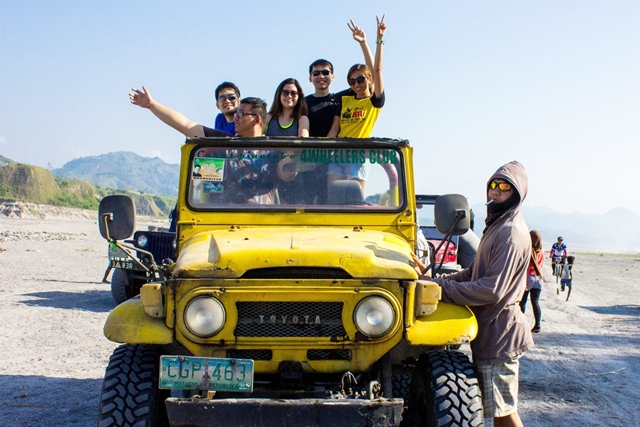
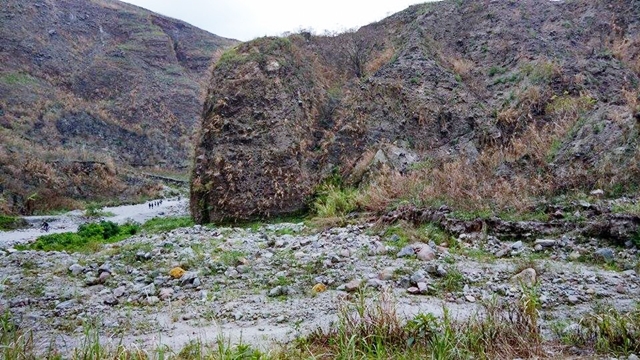
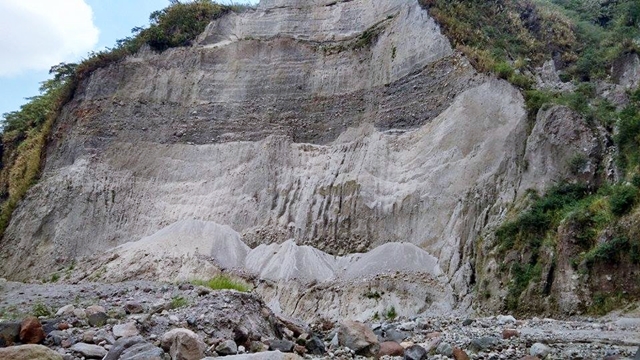
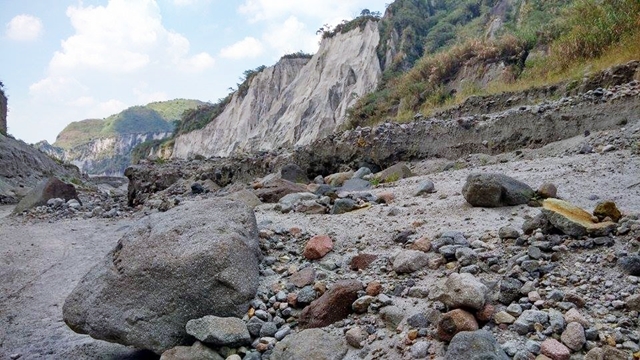
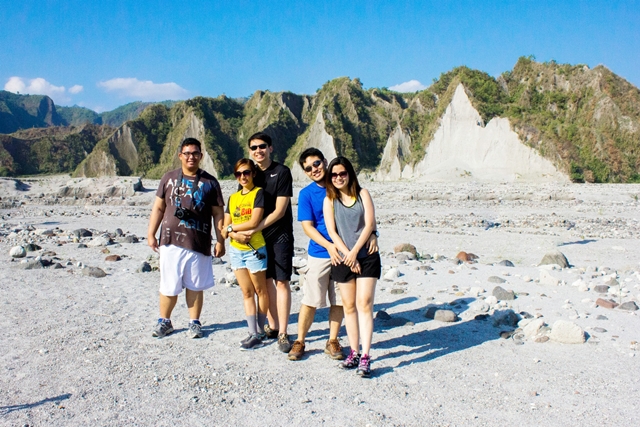
The 1.5-hour bumpy ride took us across a vast expanse of barren lands, formation of rocks and mountains, and different sand formations created by Mt. Pinatubo’s eruption. It was like “the land before time.” Asking the driver to stop or slow down for picture-taking is allowed. Yay!
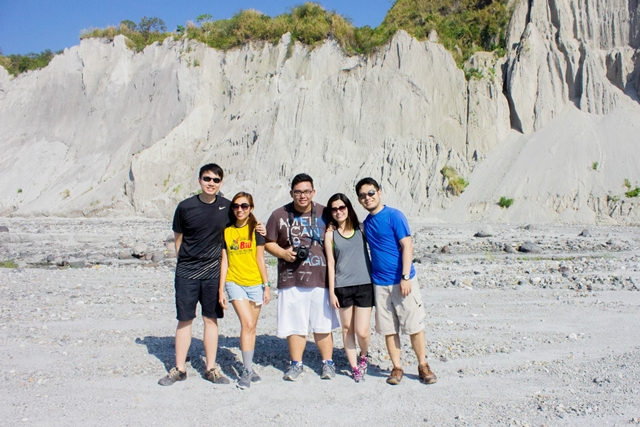
The local tour guide was helpful in taking our group pictures and telling us some history about the world’s most violent and destructive volcanic event in the 20th century that led to the evacuation of thousands of people from the surrounding areas, damaging properties, infrastructures, and changing the river systems months to years after the eruption.
- 8:30AM – 11:30AM Hiking
We arrived at the drop-off point in Lipit/GMA area at 8:15AM and started hiking immediately while other people had snacks and rested for a moment. If you’ve never tried hiking, it’s just like walking but only further on trails instead of streets.
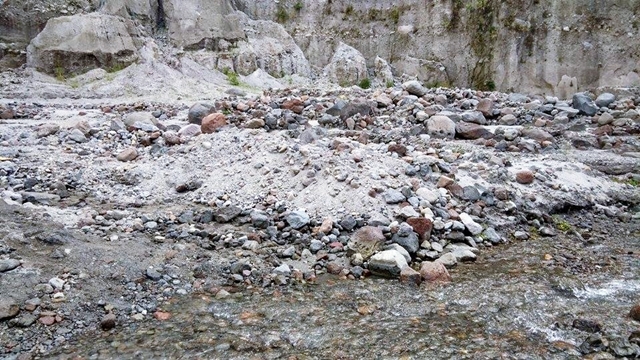
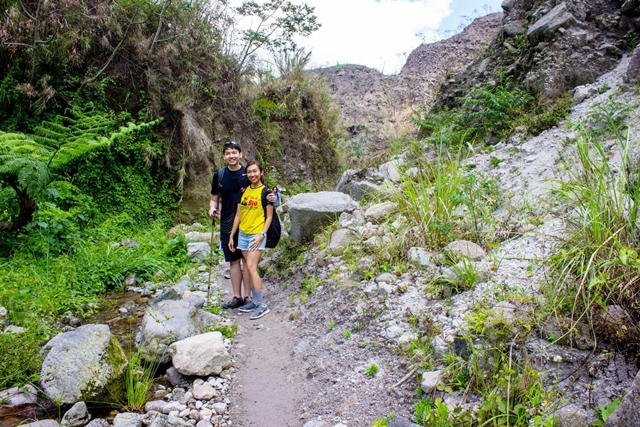
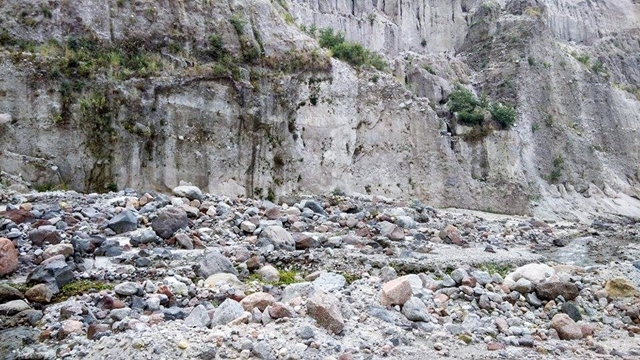
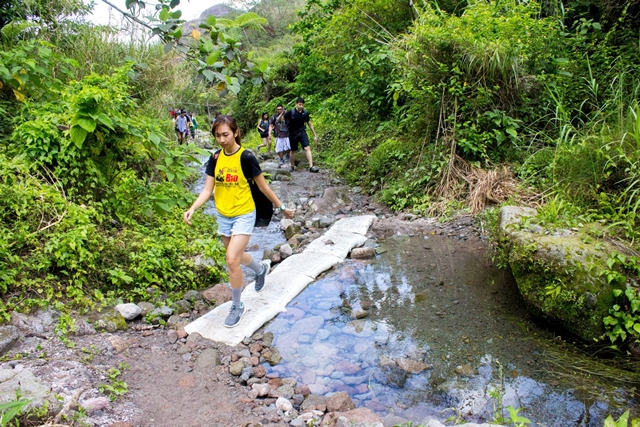
Hiking in Mt. Pinatubo was like walking through endless Instagram posts in real life, with the soles of our shoes crunching rhythmically in lahar, ginormous rocks, and shallow streams.
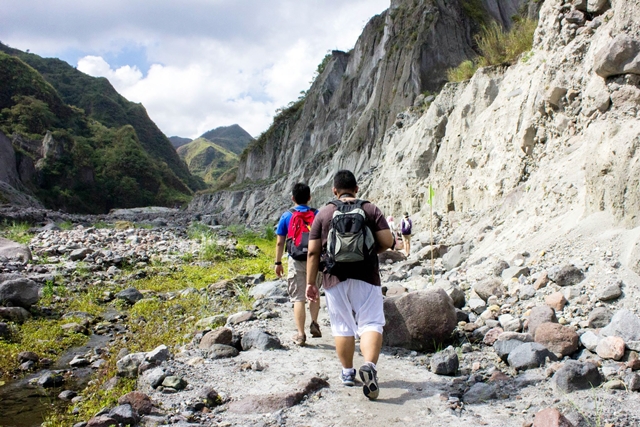
True as told, the trail may be quite long but it was easy and recommended even for beginners. It’s basically flat land and not much the uphill type except that it’s filled with so many rocks of different sizes and stream beds which are a bit slippery. Using a walking stick is optional and not necessary.
- 11:30AM-12:30PM Lunch by the Crater
We had a picnic lunch at the summit in one of the rest stations near the crater, then descended to the breathtaking Lake Pinatubo. The landscape was calm without any animals in sight. The crater looked like paradise as the fresh water was so clean and clear.
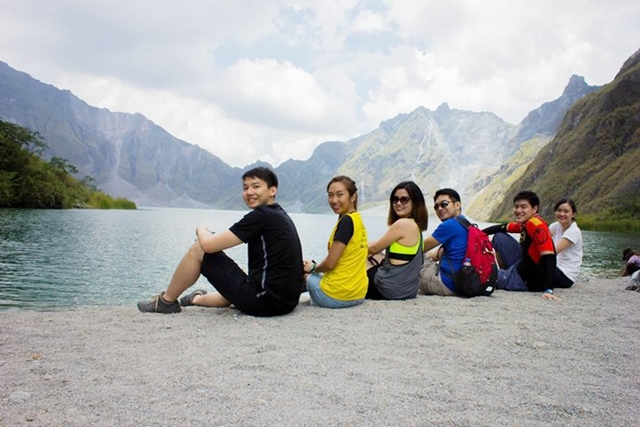
The water looked blue-green and it’s cold. Swimming and boating are no longer allowed since 2003 when there were people who drowned in the lake (max depth of 600 meters or 2,000 feet). Lake Pinatubo is the deepest lake in the Philippines.

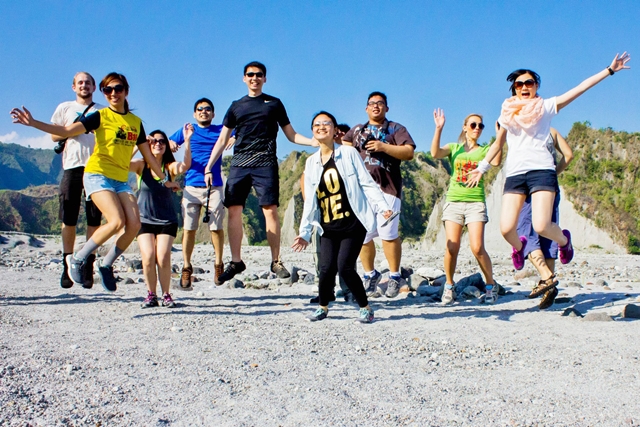
For the most part, it was at the lake when I understood the magic of this place. The paths on the way to the crater were a natural fantasy, and traveling and seeing the views with Louie and friends of course made it even more special.
- 1:00PM-3:30PM Hiking
By 1PM, we had to go back. We continued hiking and then rode the 4×4-wheel jeep to where we started.
3. Pack light.
Heavy backpacks do not just put burden on your shoulders but also sap your energy; therefore, packing light is a must. Things you need to bring are:
- large towel to cover your face from dust while in the 4×4-wheel jeep
- extra clothes you can change into when you’re perspired
- cap to protect your head and hair
- sunglasses to protect your eyes from the sun, dust and sands
- sunblock to protect your skin
- 500mL to 1L water or sports/energy drink (Beverages are sold at the crater but are tagged with hefty prices, e.g. PhP 100 for 250mL of Coke).
4. For the ideal choice of footwear, hiking shoes or any comfortable rubber shoes with thick socks is way better than a pair of Crocs or sandals with no socks.
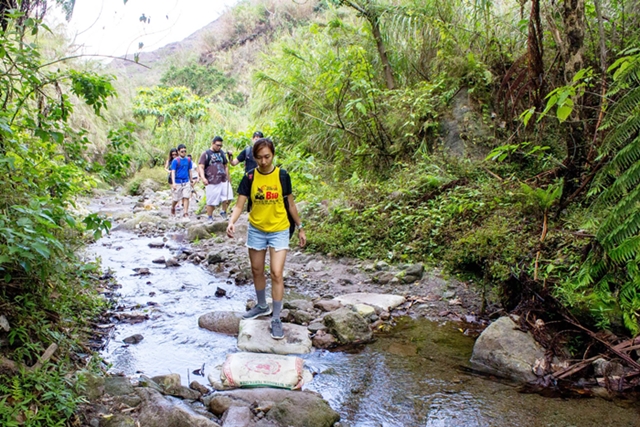
Afraid your socks will get wet? Some people advise to bring both sandals and shoes so you can change and alternate between the two: wear sandals when walking on rivers and wear closed rubber shoes or trainers when walking on the rocky territory. This strategy may sound fine but it’s actually quite a hassle to execute.
The truth is, water level is shallow and you can step on sacks and rocks to avoid wetting your socks and shoes. I have managed to stay dry the entire time wearing my comfy Skechers exclusive memory sole shoes and Darlington thick socks (for sands not to get into my feet). 🙂
5. Bring a handy camera.
I don’t have a great pictographic memory. But even if I do, I would still bring a handy camera to Mt. Pinatubo since mental images truly would not suffice to constitute recollection or create narratives after a long time.
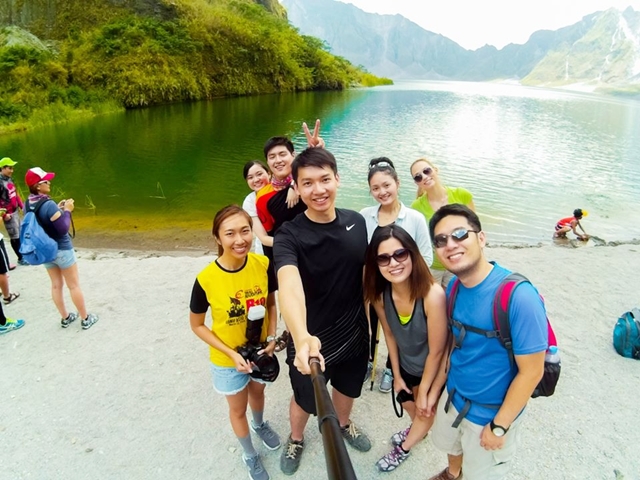
Since I don’t trust my phone camera or a compact point and shoot camera, I still carried a DSLR, haha. 🙂 A GoPro camera is also great as it can give your photography a whole new dimension, and you can try different angles across lahar plains and the beautiful surroundings. A handy tripod or monopod is advisable for more shooting options and for ensuring that your pictures will not come out blurry.
Wrap Up
If you have doubts about hiking at Mt. Pinatubo, these tips may help you decide. Mt. Pinatubo is a busy place in the weekends, with hundreds of people visiting, and the day we visited was no exception.
I did not intend to find epiphany at Mt. Pinatubo’s crater, or even swim the depth of its water. Rather, I just hoped to have a broadened perspective of “what’s there”—something that could never happen behind a desk or a computer screen. And yes, I was able to meet my personal objective. Visiting what is arguably the greatest disaster turned to a true wonder was worth our time. 🙂 No regrets, indeed!
Leave a Reply to sef tiburcio (@seftiburcio) Cancel reply